
Stucco Excellence, Built on Family Values
Craftsmanship You Can Trust, Results You’ll Love
My father was already working in the stucco industry, and I joined him with little knowledge of the trade and no prior construction experience. My background was in sales, but I was determined to learn.
35
years
1989
Since
our Story
A Legacy of Craftsmanship & Commitment
Founded by a family with a passion for quality craftsmanship, A&A Plastering started when a father and son teamed up to create something meaningful. Despite language barriers and no prior construction experience, the son immersed himself in the stucco trade, learning from seasoned craftsmen and gaining expertise.
Over the years, the company honed its focus on high-quality projects, earning a reputation for precision and exceptional service throughout Kansas City.
Expert Plastering Services Tailored for You
Traditional Stucco
At A&A Plastering, we specialize in providing high-quality traditional stucco applications that stand the test of time. With years of experience in the craft, our team ensures precise installation using tried-and-true methods that create a durable and weather-resistant exterior. We pride ourselves on delivering exceptional results, combining our expertise with family values to ensure that every stucco project meets the highest standards of excellence.
View Service
![]()
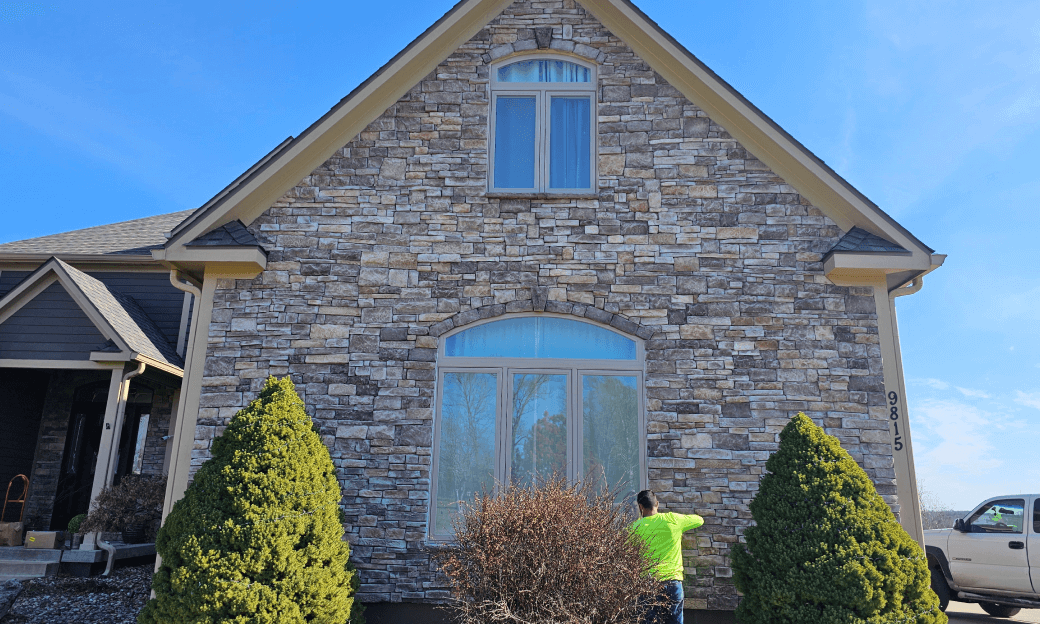
Stucco & Stone Repairs
A&A is your go-to source for professional stucco and stone repairs, providing quick, efficient, and high-quality solutions. Whether it’s addressing cracks, chips, or more significant damage, our experienced team uses the best materials and techniques to restore your stucco or stonework to its original condition. Our focus is on seamless repairs that blend in perfectly with the existing surface, ensuring your home looks as good as new.
EIFS
When it comes to energy-efficient and moisture-resistant solutions, A&A excels in EIFS installations. We offer top-of-the-line EIFS systems that enhance insulation while providing a smooth, seamless exterior. Our meticulous attention to detail ensures proper installation, resulting in a beautiful and long-lasting finish that also improves energy efficiency, making homes more comfortable and cost-effective.
Let’s Build Something Beautiful Together! Get a Free Estimate Today!
Request An Estimate
CALL US: (913-449-5061)
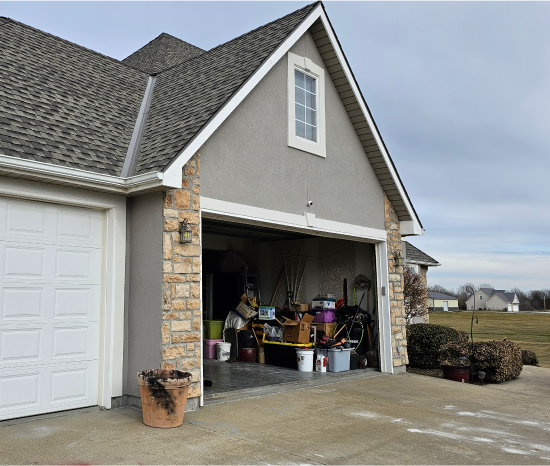
How We Stuccoes a Pool Column:
A Step-by-Step Guide
At A&A Plastering, we recently had the opportunity to work on a unique project: stuccoing a pool column that needed to hide a pipe within the structure. The builder constructed the column using 2x4s with an outer shell of OSB (oriented strand board). Below, we’ll walk you through the process we followed to ensure a high-quality, long-lasting stucco finish.
Waterproofing with Tar Paper
Before applying any stucco, it’s essential to protect the OSB from moisture. We covered the entire surface of the column with tar paper, creating a waterproof barrier to protect the wood underneath.
Installing Casing Beads
Before applying any stucco, it’s essential to protect the OSB from moisture. We covered the entire surface of the column with tar paper, creating a waterproof barrier to protect the wood underneath.
Adding Metal Lath
Next, we installed casing beads to provide clean edges around the column and ensure the stucco has a precise, neat finish.
Applying Corner Pieces
We then placed corner pieces on the edges of the column to reinforce and protect the corners, preventing cracks and damage over time.
Applying the Stucco Base Coat
With the column prepped, we applied a ½ inch layer of stucco over the entire surface. This base coat is crucial for creating a smooth, even surface.
Finishing the Job
After allowing the stucco to dry and cure, we returned to apply the final finish coat in the texture and color of the customer’s choice.
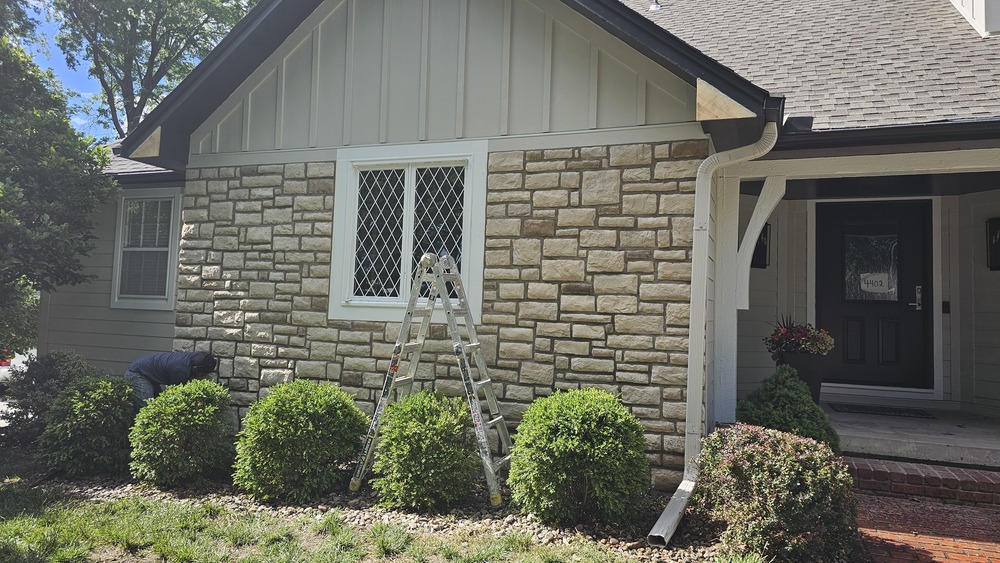
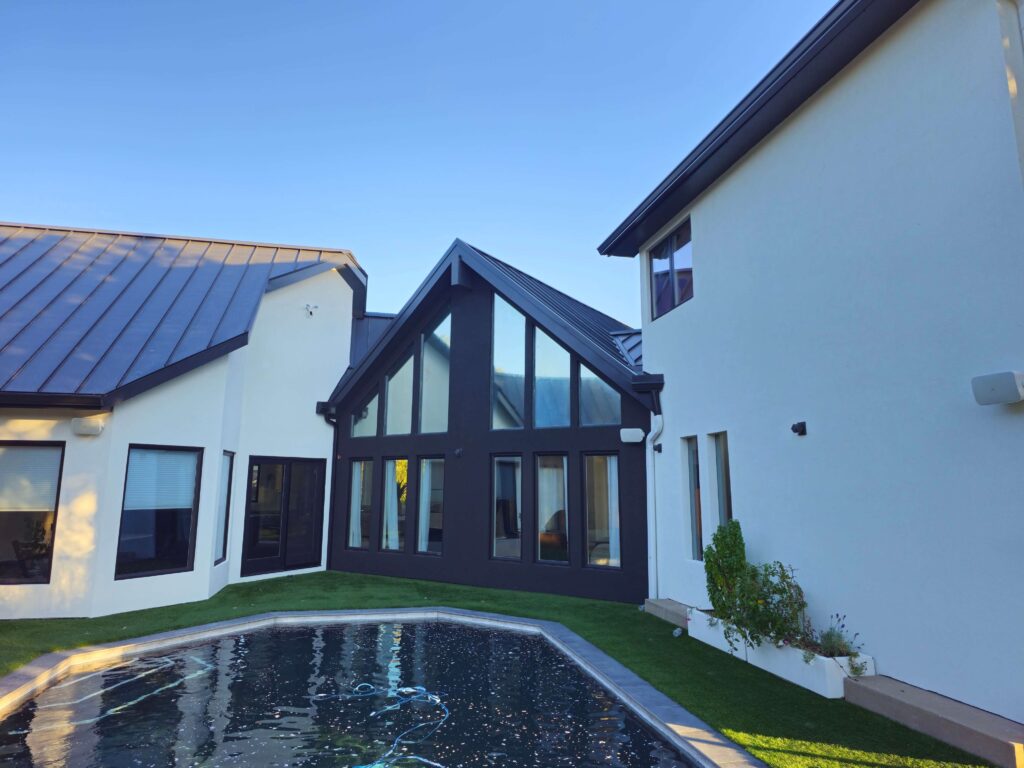
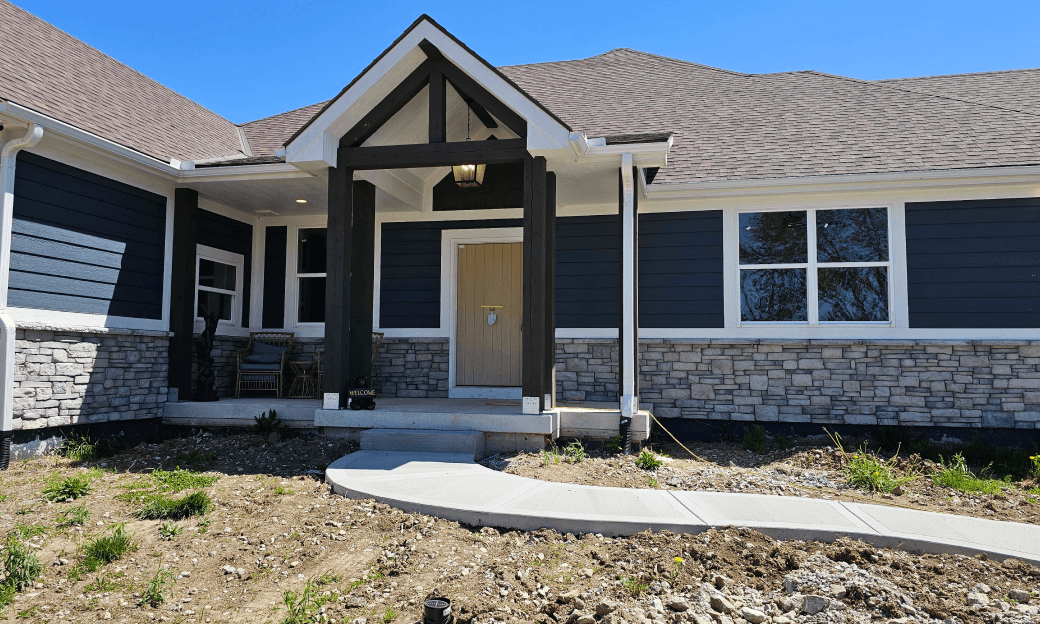
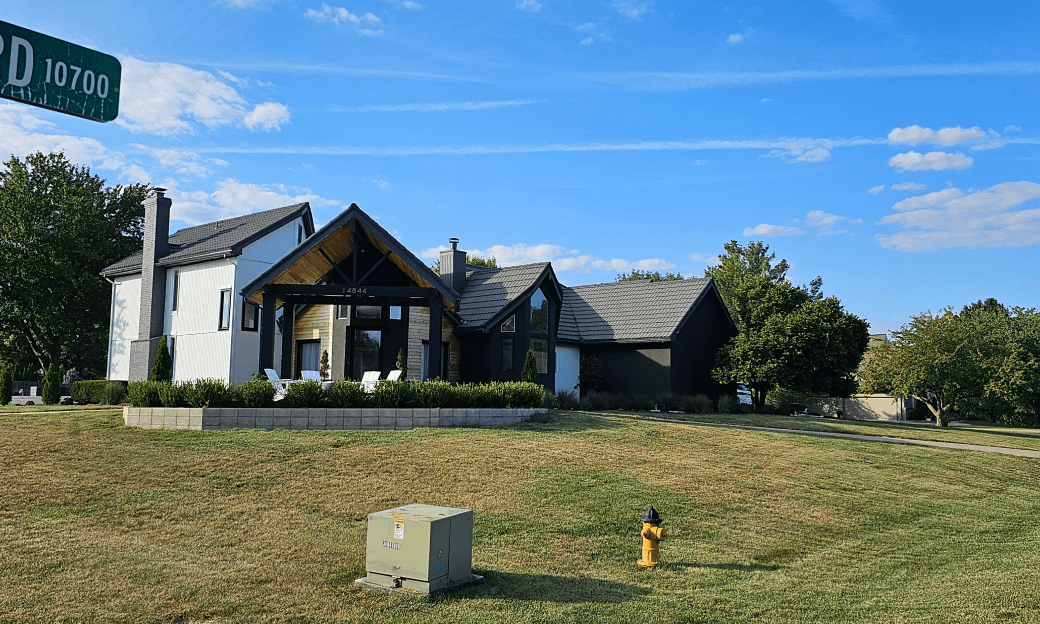
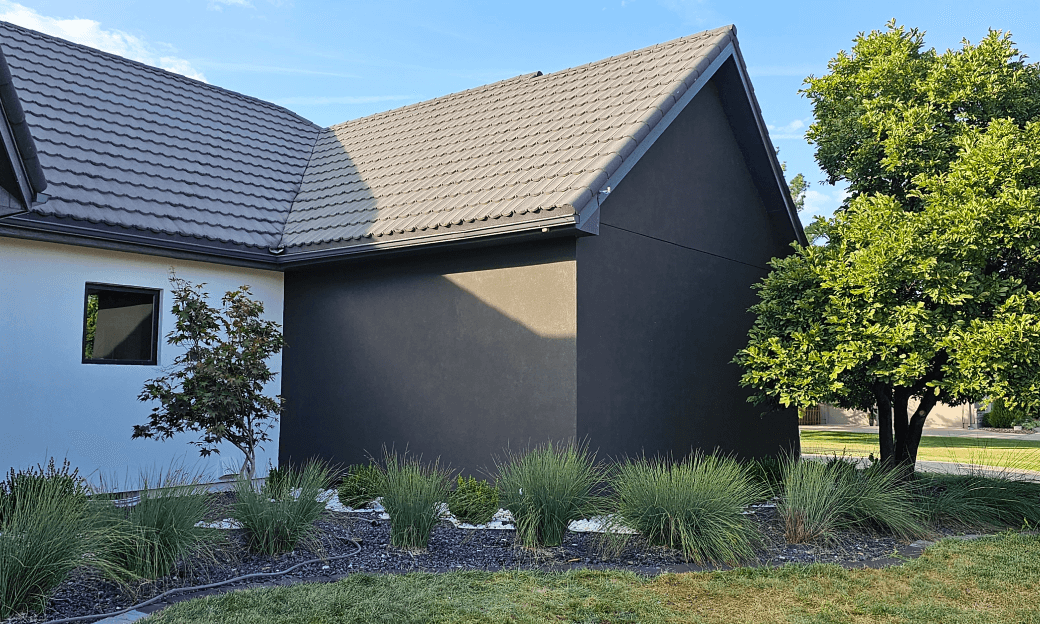
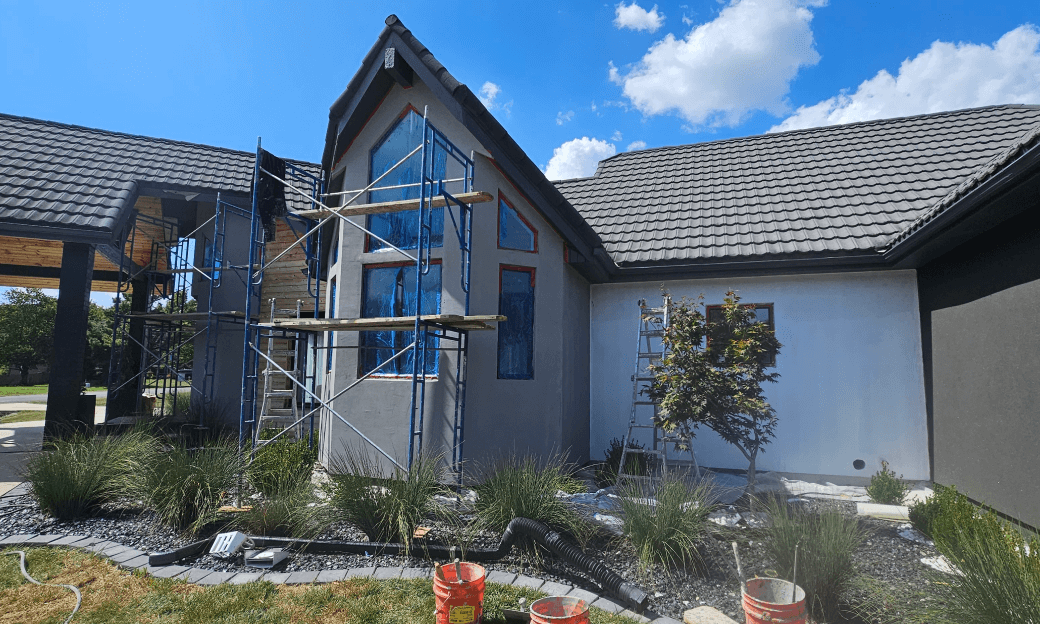
From Vision to Reality: Our Project Gallery


What Our Customers Say About us

Shana Williams★★★★★24 October, 2023 Read More
I had a small leak issue, and A&A Plastering handled it quickly and efficiently. The work was flawless, and they even followed up to make sure everything was perfect. Excellent service!
Shana Williams★★★★★24 October, 2023 Read More
I had a small leak issue, and A&A Plastering handled it quickly and efficiently. The work was flawless, and they even followed up to make sure everything was perfect. Excellent service!

Andrew Johnson★★★★★23 October, 2023 Read More
Exceptional craftsmanship and attention to detail! A&A Plastering transformed the exterior of our home with their stucco work, and we couldn’t be happier with the results.
Andrew Johnson★★★★★23 October, 2023 Read More
Exceptional craftsmanship and attention to detail! A&A Plastering transformed the exterior of our home with their stucco work, and we couldn’t be happier with the results.
Previous
Next
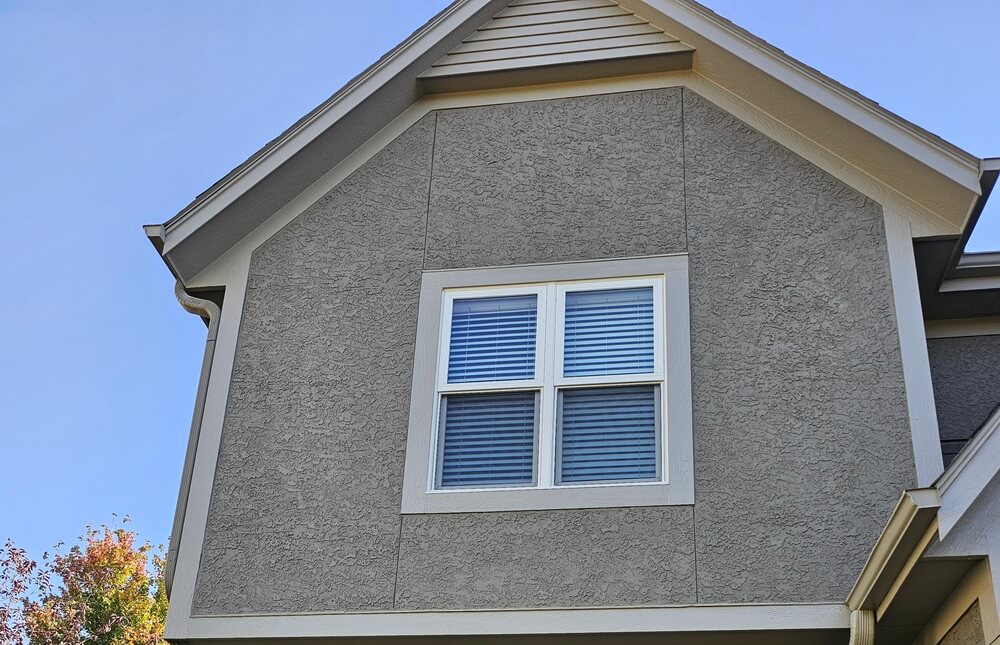
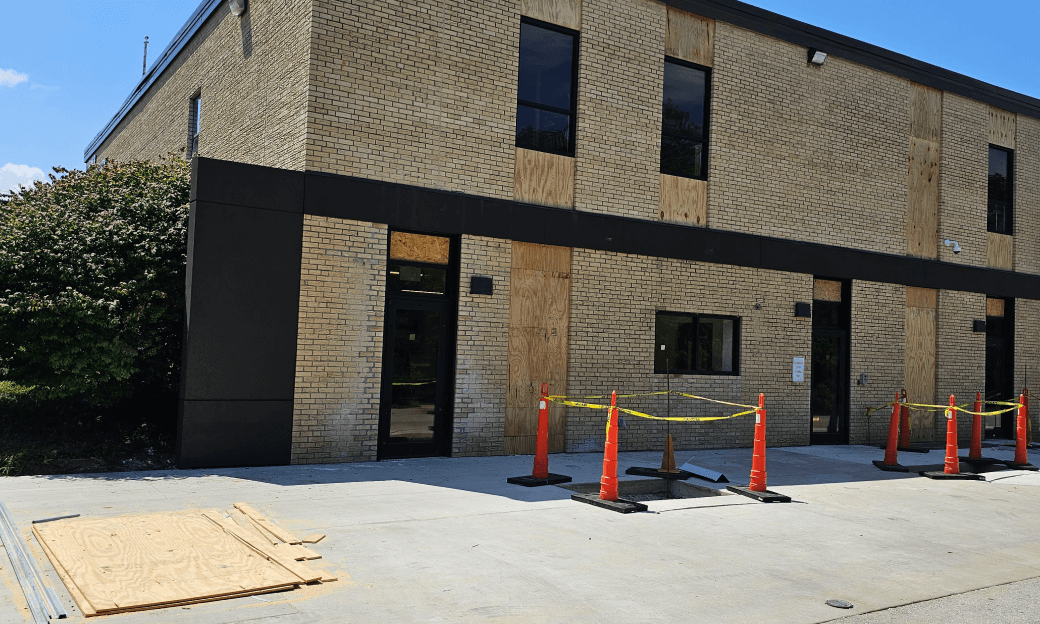
How We Stucco Around a Replaced Window:
A Detailed Process
At A&A Plastering, we often encounter projects where windows are replaced with new ones that are smaller than the original openings. In such cases, it’s important to properly repair the surrounding area to ensure a seamless appearance and maintain the structural integrity of the stucco. Below, we’ll walk you through the detailed process we follow when stuccoing around a window after replacement, ensuring both function and beauty.
Waterproofing the Area
The first and most critical step is ensuring the area around the new window is completely waterproof. We use high-quality waterproofing materials to seal the space around the window, preventing any water infiltration or air drafts that could potentially lead to issues inside the home. This step is essential for both energy efficiency and the longevity of the stucco finish.
Filling and Shaping with Foam
Since the new window is smaller than the old one, there is an empty space that needs to be filled. We use foam to fill this gap, shaping it to match the level and contour of the surrounding stucco. The foam not only fills the space but also provides insulation, ensuring there are no gaps that could allow air or moisture to enter the home.
Applying the Base Coat and Fiberglass Mesh
Once the foam is in place and shaped to match the existing wall, we apply a base coat over the area. To reinforce this section and prevent future cracking, we embed fiberglass mesh into the base coat. This step is crucial for adding strength to the repaired area and ensuring it bonds well with the existing stucc
Applying the Finish Coat
After the base coat has dried and cured, we apply the finish coat. The customer has the opportunity to choose the texture and color of the finish to match the existing stucco. Our goal is to blend the new stucco seamlessly with the rest of the home, making it look as though no work was ever done.
Floating the Finish
To achieve a flawless appearance, we use a float to create a smooth, even finish that matches the surrounding stucco. This step helps to blend the new and old stucco together, ensuring that the transition is virtually invisible.
Caulking Around the Window
The final step in the process is caulking around the window. This creates a durable, waterproof barrier between the window frame and the stucco. Not only does this step protect against moisture and air drafts, but it also adds to the clean, finished look of the job.